
Let’s find an easy way to activate the IDM software for always which should want to be registered or activated. If you are looking then you have visited the appropriate place to solve the issue of Internet Download Manager. In this guide, you’re going to learn How to Register IDM Permanently in Windows 11.
As we know that IDM can be downloaded on the Windows operating system. And if you download Internet Download Manager on your PC for the first time. So, if you don’t want to pay and purchase any plan of IDM then it will give you a chance to use the software. It can’t allow you to use the software for free but it will let you use the Internet Download Manager for 30 days only. Unfortunately, if you use the trial version then you won’t be able to access some additional features of IDM. After the period of the free trial ended after that, the registration of IDM will appear.
Whenever we talk about Internet Download Manager (IDM) then one question is asked frequently about the download speed of the software. So, according to the developer of the software, when you download any files with IDM after that the speed going to increased 5 times. During the process of downloading, you could check the specific speed of the particular file.
Features of Internet Download Managers
Some best features of the IDM are listed below and you could check them.
- Allow the option of drag and drop.
- Support to sets download limit.
- Use almost all types of proxy servers.
- With one click the downloading process begins.
- Schedules the downloads.
- Download many files at once.
- Increased download speed by 5x.
- IDM has an extension of it in Chrome browser.
- Check out the built-in viruses.
How to Register IDM Permanently in Windows 11
Whether you wish to install the Internet Download manager on your PC then you have to install it from the official webpage of IDM. If you download from another website then you might face issues and glitches. And we will highly recommend you head to the website of IDM and download it.
Step 1. First of all, you should go to the settings and then Virus Protection and along with that try to disconnect your internet connection.
Step 2. Once the protection gets disabled after that click on this Link and then download the activator of IDM.
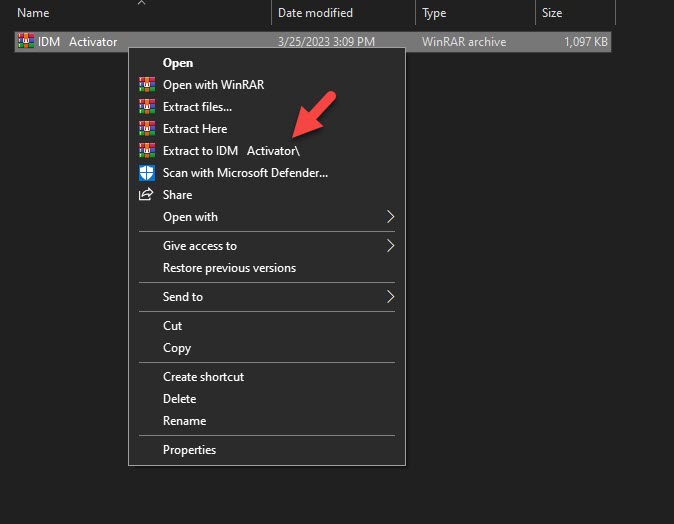
Step 3. Go to the location where you have downloaded the activator and right-click on it after that select Extract to IDM Activator\.
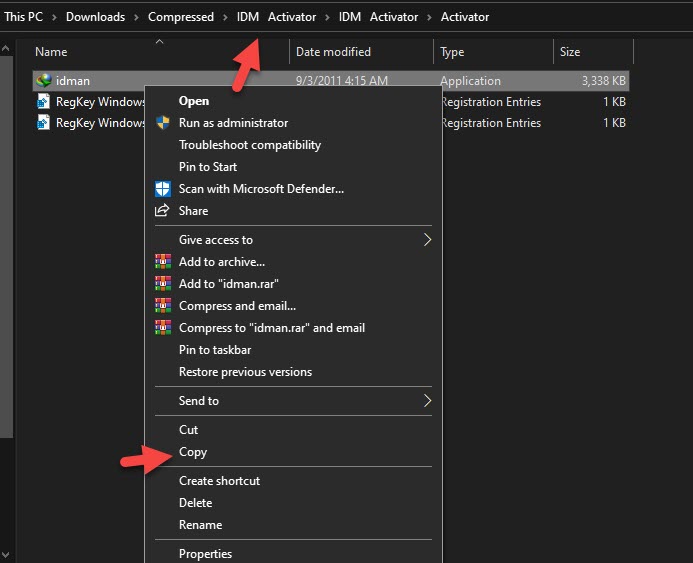
Step 4. When you extracted the folder simply launch the folder then go to IDM Activator and select Activator after that copy the idman.
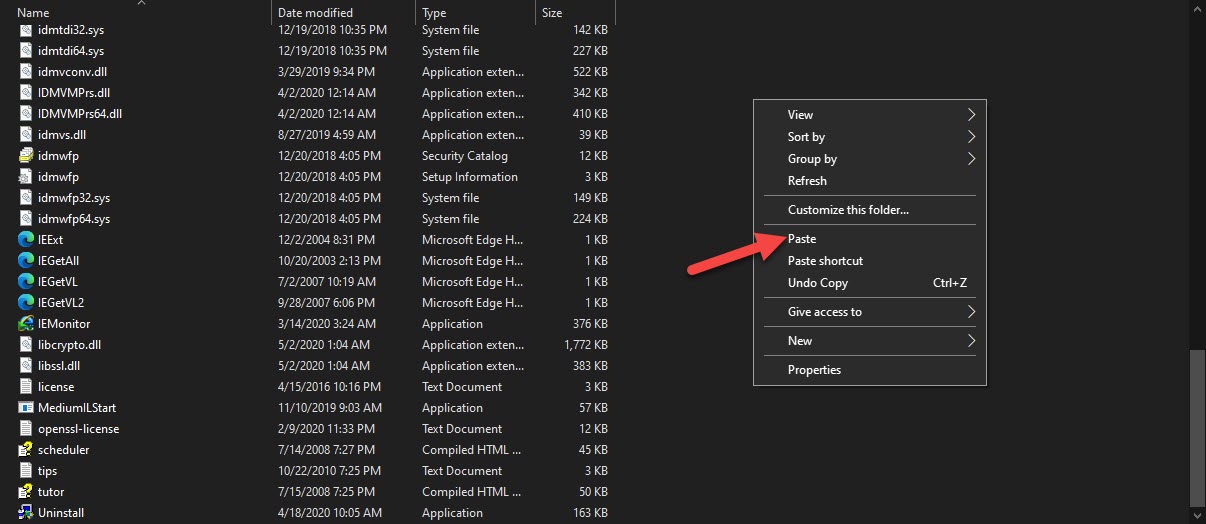
Step 5. Now, go to the file location of IDM by right-clicking on the Internet Download Manager then tap on Open File Location.
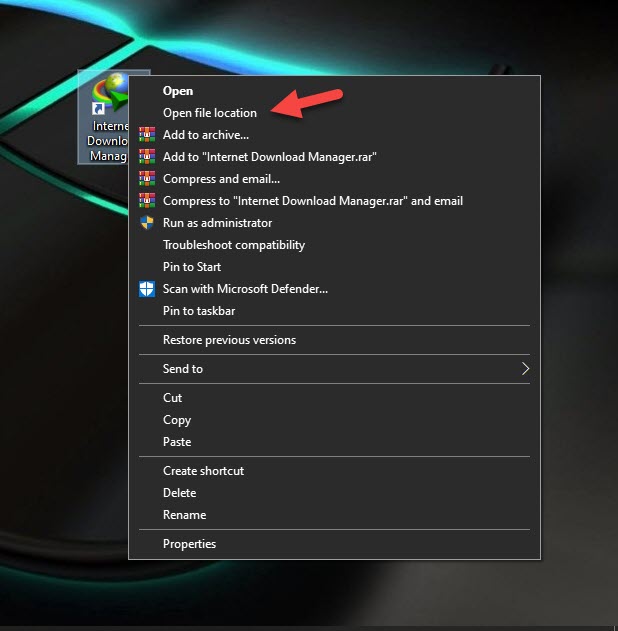
Step 6. Next, paste the idman which you have copied.
Step 7. A new window will pop up simply tap on Replace the File in the Destination.
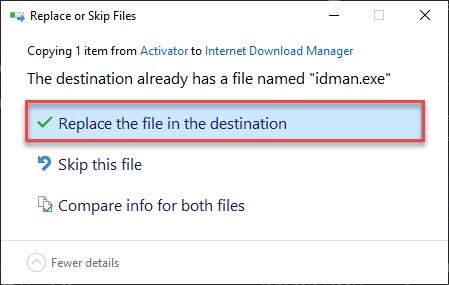
Step 8. Tap on Continue.
Step 9. At last, once again launch the IDM activator folder then go to Activator after that open the RegKey, and don’t forget that the system type should match. Once the process is done then click on Yes after that click on Ok.
How to Check If IDM is Activated?
Step 1. Firstly, open the Internet Download Manager on your PC.
Step 2. Click on the Registration tab.
Step 3. Now, if the Registration option is accessible then you have to activate the IDM and if it is Grey then it means that it is activated.
Add the Extension of IDM on Chrome
The extension of IDM has to add to your Chrome browser in order to download something through Internet Download Manager. If you search for the IDM extension in the extension section then you could not find the extension IDM but there are other fake extensions of IDM that you should not use because they will not work properly. It cannot provide the result if you search for the extension of IDM in the store of Chrome.
Keep in mind that if you install the Internet Download manager on your PC then the extension of IDM would add and you don’t even need to add it. A circumstance might happen that won’t let the system add the extension and you should add it by yourself. Now, follow the given way to add the extension of IDM.
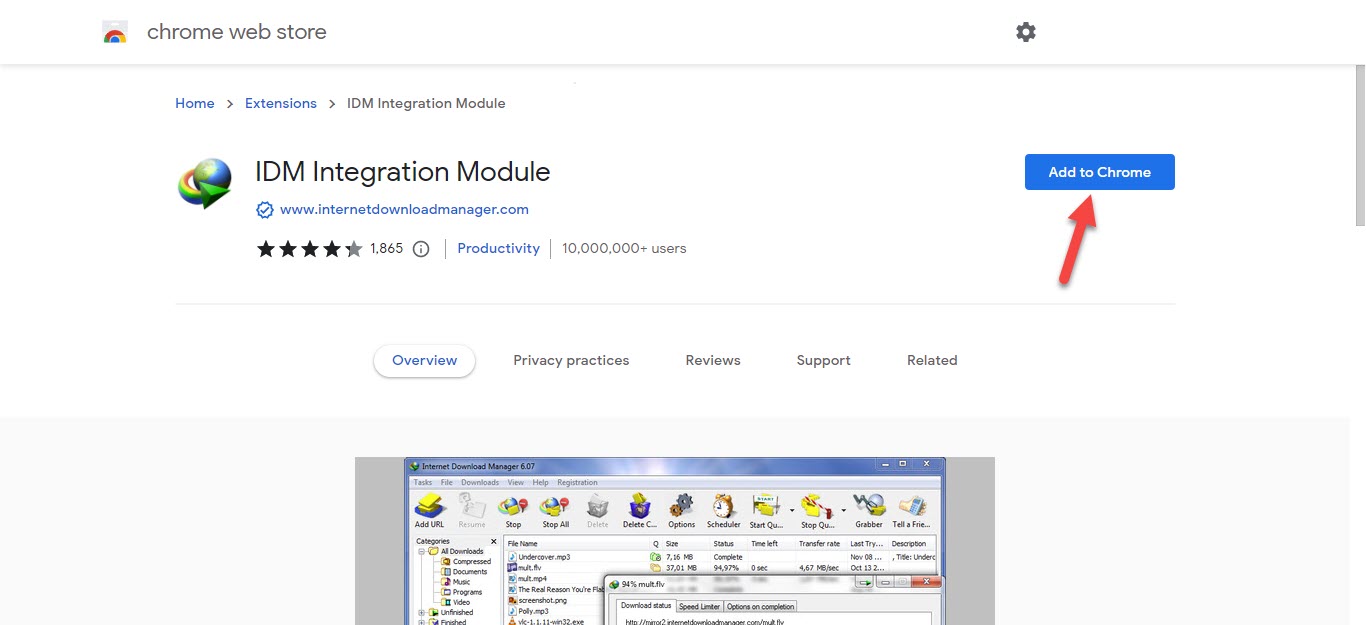
Step 1. Tap on this link and then it will take you to a tab of Chrome.
Step 2. Here you have to tap on Add to Chrome.
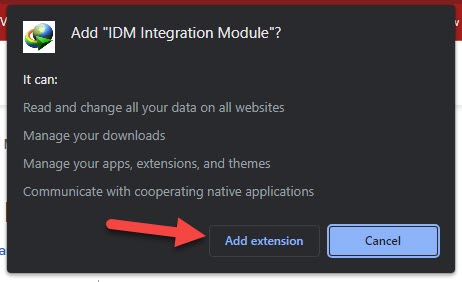
Step 3. A pop-up window will appear and you have to choose Add Extension.
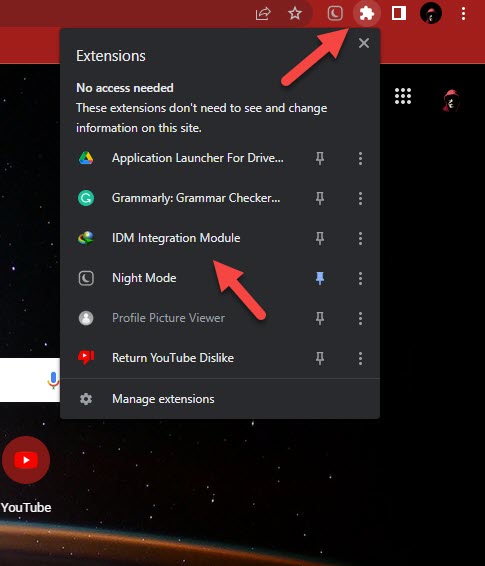
Step 4. To check whether it is added or not then click on the Extension icon at the top right side after that you can check there.
Bottom Line
The guide is ended and we have shared with you a guide on How to Register IDM Permanently in Windows 11. Accessing additional features of the Internet Download Manager can attract more to use it but for that, you have to purchase any plan of IDM and you could not use those features in the trial period. Additionally, we have added a way to add the extension of IDM on your Chrome browser. If you have questions related to this post then you can ask us in the comment section.
Read Next:
- How to Activate Windows 11 for Free Without Product Key
- How to Change Safari Search Engine on iPhone, iPad, and Mac